
Soil Health Card Guide and How to Apply Its Recommendations
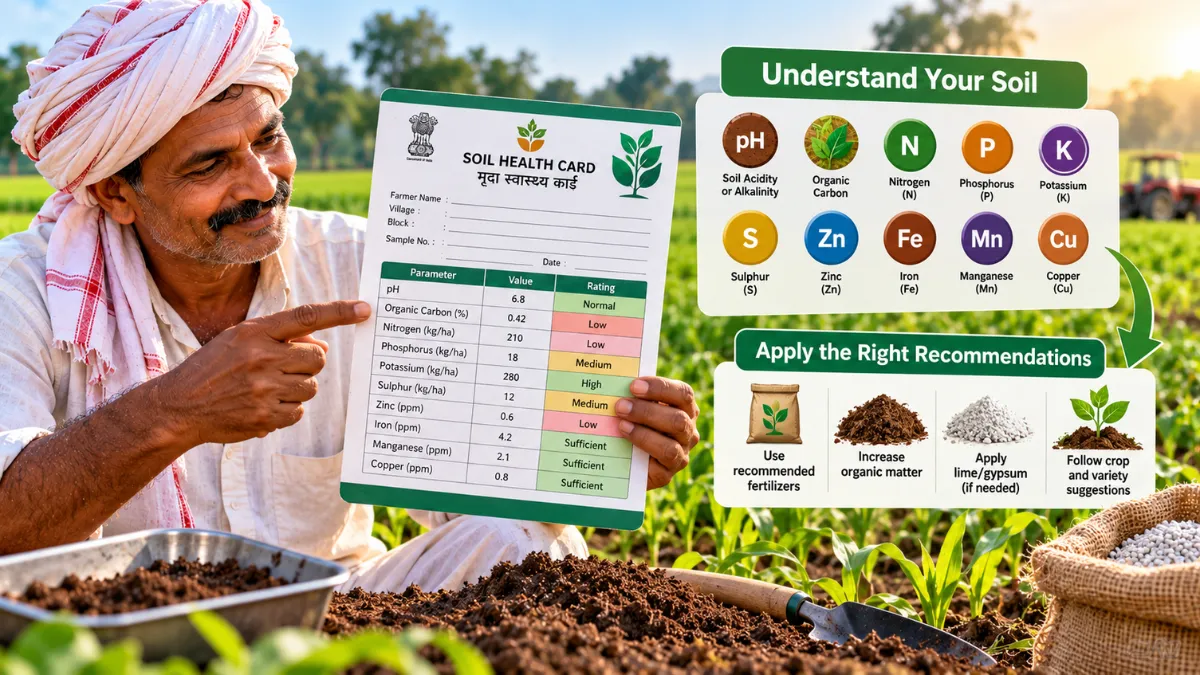
A Soil Health Card is useful only when its results lead to a clear plan for the field. The report can show a nutrient as low, medium or high, but those words are not instructions to buy a particular number of fertiliser bags.
Start with the crop recommendation printed on the card. Then confirm the land area, units and fertiliser products needed. This is especially useful when farmers buy inputs in bags but the recommendation is written in kilograms per hectare.
What does a Soil Health Card show?
The Government of India’s Soil Health Card programme covers 12 parameters. Together, they help describe nutrient availability and important soil properties.
| Parameter | What it helps you understand |
|---|---|
| Nitrogen, phosphorus and potassium — N, P and K | Status of three major plant nutrients |
| Sulphur — S | Availability of an essential secondary nutrient |
| Zinc, iron, copper, manganese and boron | Status of five micronutrients needed in smaller amounts |
| pH | Whether the soil is acidic, neutral or alkaline |
| Electrical conductivity — EC | An indicator used to assess soluble salts |
| Organic carbon — OC | An indicator related to soil organic matter |
Read the result with the laboratory’s units and interpretation. Avoid comparing values from two reports unless the testing methods and units are comparable.
Step 1 — Check that the card belongs to the right field
Verify the farmer details, sample number, collection date and field location. If you manage separate plots with different soil, irrigation or cropping histories, one result may not represent them all equally well.
Tell the laboratory or agriculture adviser about recent manure and fertiliser applications. A sample taken from a fertiliser heap, field boundary or an unusual patch can misrepresent the main field.
For a new test, ask the laboratory for its sampling instructions, including depth and how to combine samples. Orchards and problem patches may need a different approach from a routine field-crop sample.
Step 2 — Separate the test result from the crop recommendation
The measured nutrient status describes the sample. The recommendation explains what to apply for a specified crop under the assumptions used by the adviser.
For example, “low nitrogen” does not mean that every crop on that field needs the same dose. Crop requirement, expected production, irrigation and other nutrient sources affect the plan. Likewise, a high result does not justify removing a nutrient permanently from every future crop.
Check whether the card covers the crop you intend to sow. If it lists wheat but you plan vegetables, obtain a crop-specific recommendation rather than copying the wheat figures.
Step 3 — Understand nutrient kilograms and fertiliser kilograms
A recommendation for 46 kg of nitrogen is not a recommendation for 46 kg of urea. Standard urea contains 46% nitrogen by weight.
For calculation practice only, if an adviser specifies 46 kg nitrogen per hectare to be supplied entirely through standard urea, the equivalent is:
46 ÷ 0.46 = 100 kg urea per hectare.
This is an arithmetic example, not a crop dose. If DAP, an NPK mixture, manure or another source contributes nitrogen, the adviser must account for it when finalising the quantity.
Fertiliser grades normally express nitrogen, phosphate as P₂O₅ and potash as K₂O. Check the basis used on the card before calculating phosphorus or potassium quantities. Mixing elemental values with oxide values can produce a wrong purchase plan.
Step 4 — Convert the recommendation to your actual area
One hectare is approximately 2.47 acres. A product recommendation of 100 kg per hectare therefore equals about 40.5 kg per acre.
Bigha size varies by location. Convert your recorded land area into hectares or acres using the local official measurement before multiplying the recommendation. Do not use a bigha conversion copied from another state.
Ask the adviser to write a simple purchase sheet:
| Item | What to record |
|---|---|
| Crop and area | Actual crop, variety where relevant, and measured area |
| Product | Exact fertiliser name and grade |
| Quantity | Kilograms for the whole plot |
| Application | Basal or split dose, crop stage and placement |
| Other nutrient sources | Manure, compost and previous applications already considered |
Step 5 — Check timing and problem-soil advice
A seasonal total does not mean everything should be applied on sowing day. Ask how to split the dose and how irrigation or rainfall affects timing.
Do not buy lime or gypsum from pH alone. Soil amendment choice and quantity require proper diagnosis; salinity and sodicity are not interchangeable problems. Similarly, apply micronutrients at the recommended rate. A nutrient needed in small quantities can become harmful when overused.
What Indian agricultural guidance recommends
ICAR’s balanced-fertiliser campaigns encourage soil-test-based nutrient management, while its KVK guidance also emphasises organic matter and careful use of urea and DAP. The practical message is to consider the complete nutrient plan instead of repeatedly adding the same fertiliser because it was used last year.
Maintain a notebook with application dates, quantities, crop condition and harvested yield. Take it to the adviser when reviewing the next crop. This makes the card part of regular farm management rather than a document kept only for a scheme application.